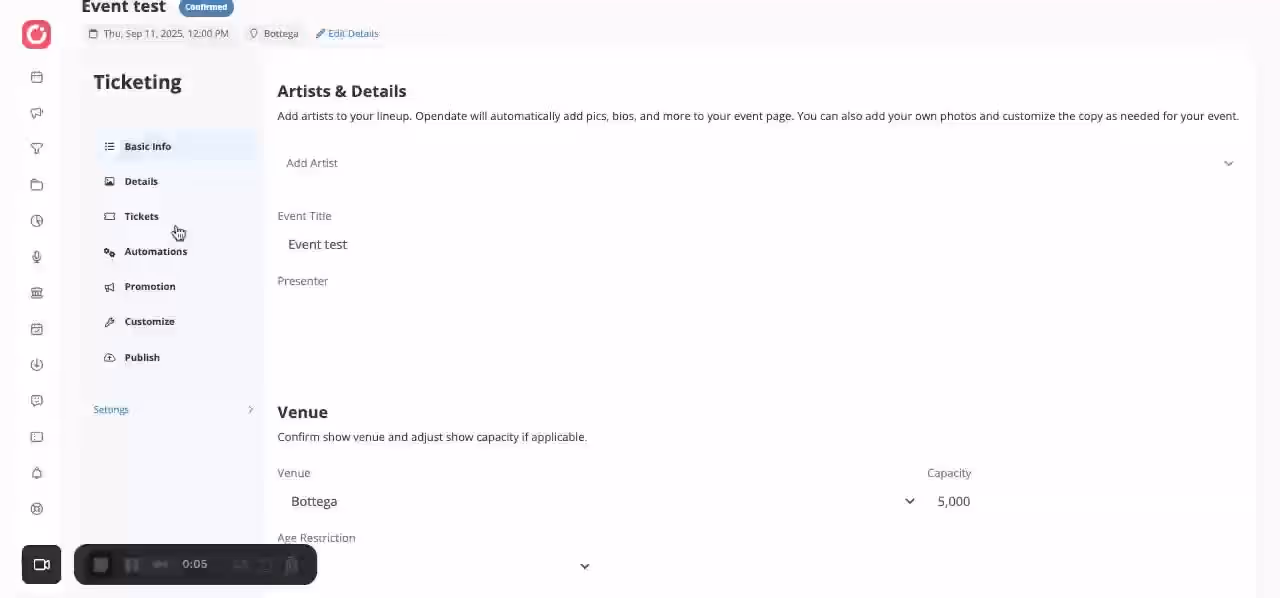
Guide to Using Holds and Kills in Ticket Build
1. Adding a Hold 0:00
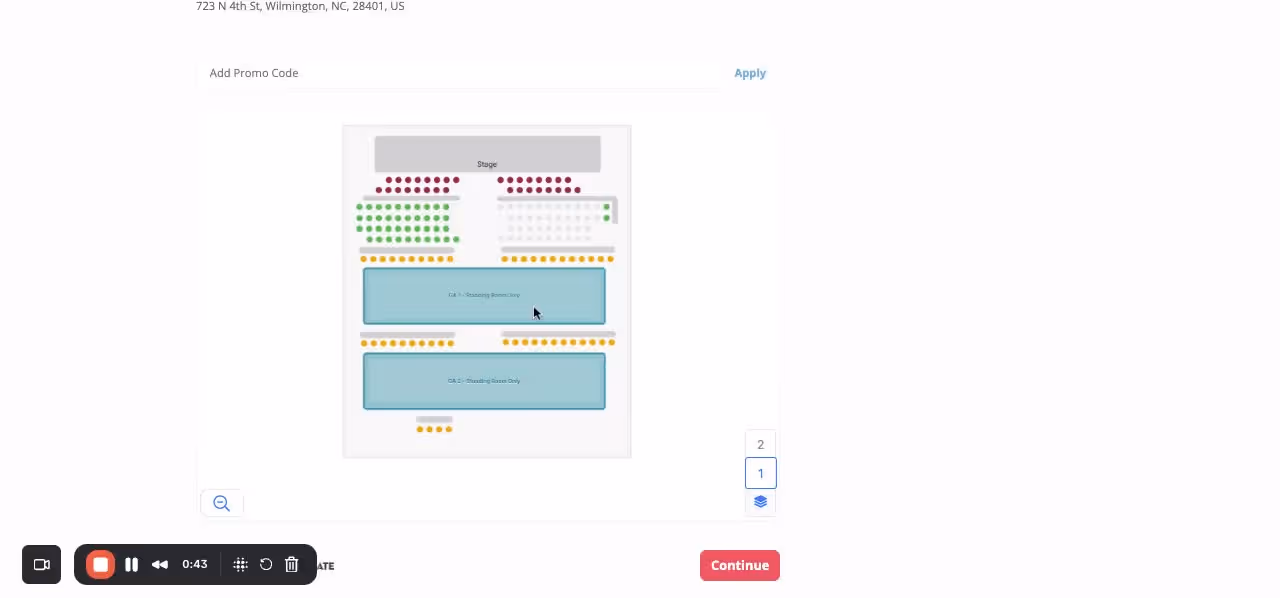
- Navigate to the ticket build interface.
- Select the option to add a hold.
- Provide a name for the hold.
- Choose a color for the hold.
- Select the area you want to apply the hold to (entire area option available).
- Save the hold.
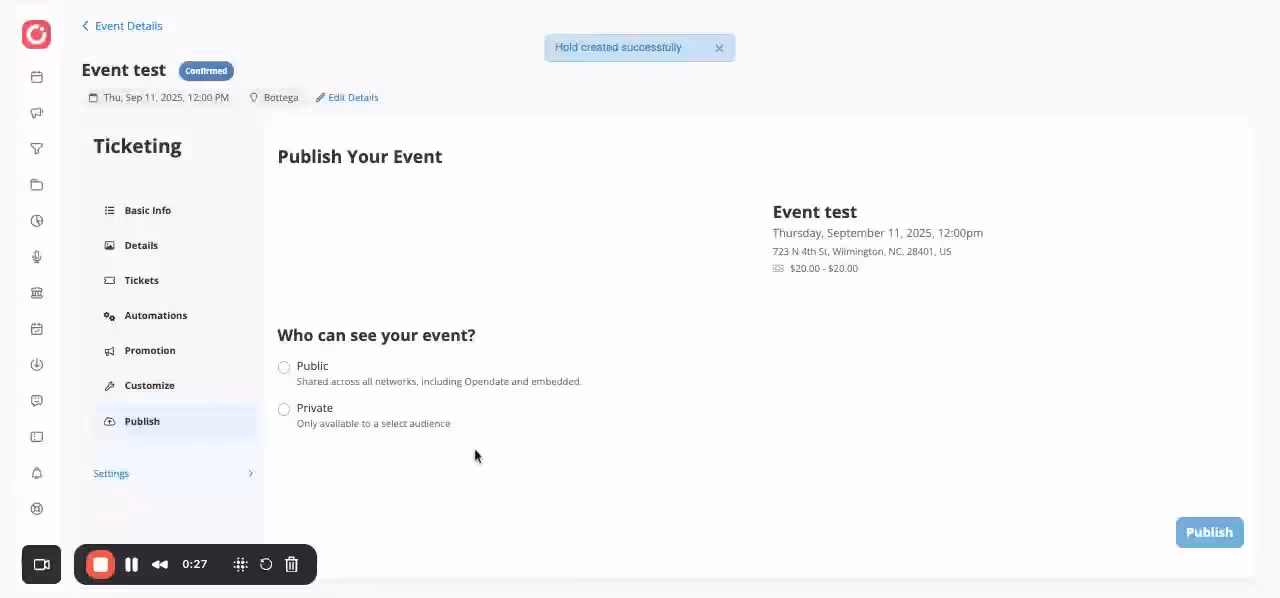
2. Publishing the Hold 0:28
- After creating the hold, publish the changes.
- Confirm that the selected area is now marked as unavailable.
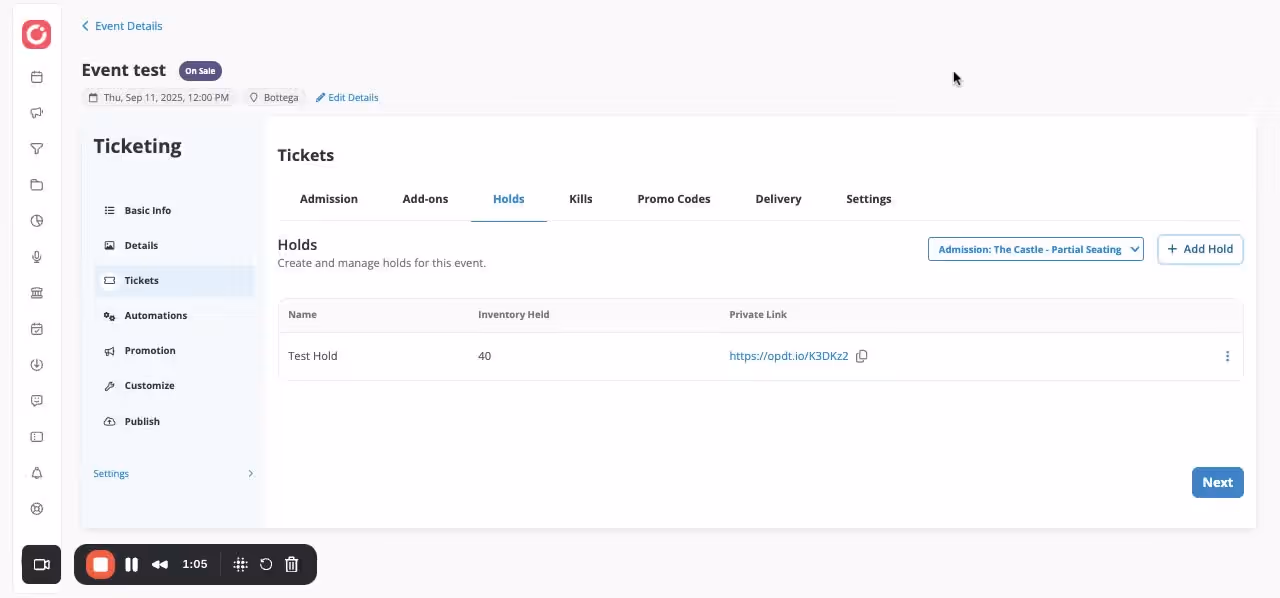
3. Deleting or Managing a Hold 0:44
- To delete a hold, access the management options.
- Choose to release the hold or manage it further.
- You can return to the editor to make changes.
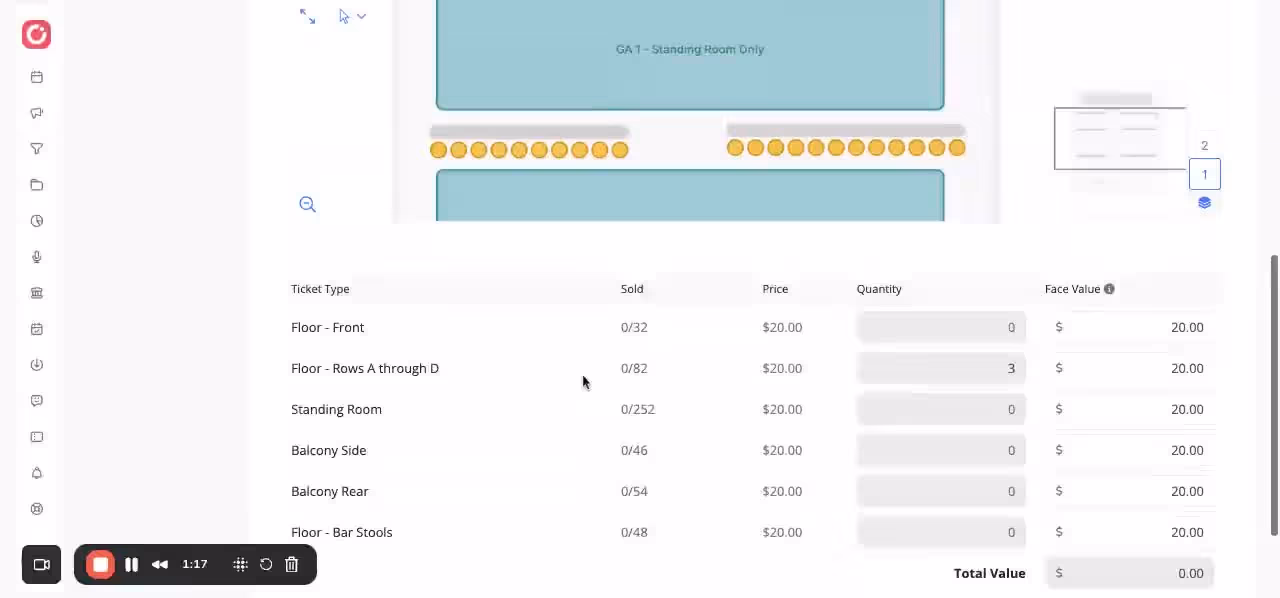
4. Adding Tickets for Holds 1:06
- Use the normal add-a-tend-use flow to create tickets for the individuals affected by the hold.
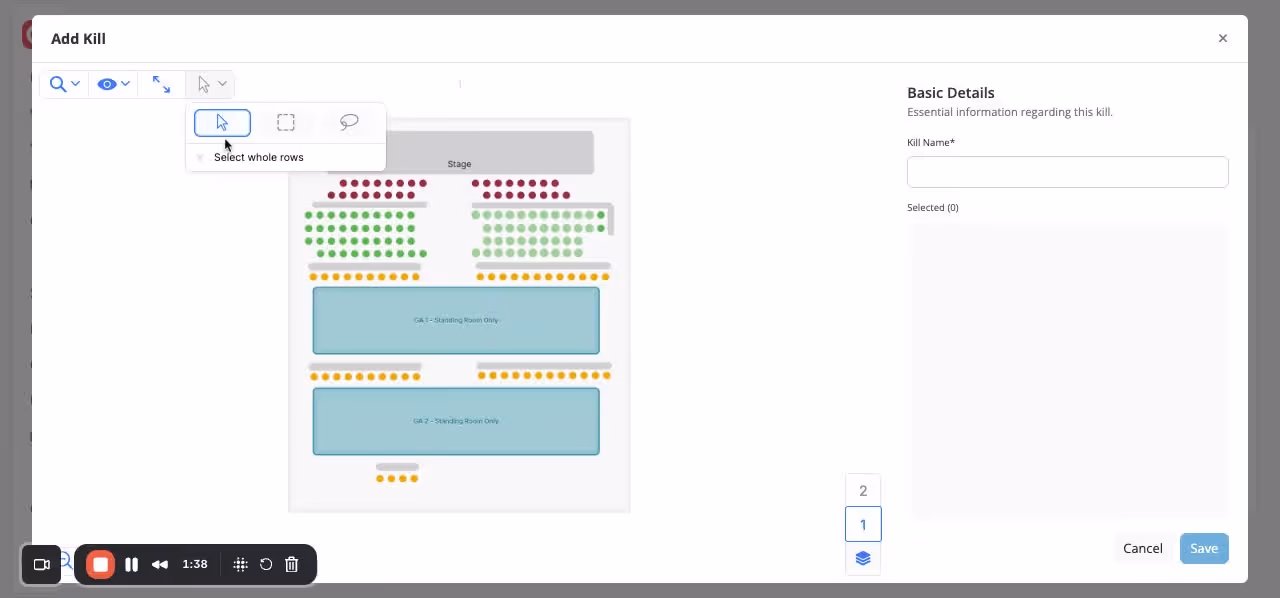
5. Adding a Kill 1:18
- Similar to holds, select the option to add a kill.
- Specify the area of sale that you want to kill.
6. Managing Kills 1:39
- Confirm that the specified seats are now killed.
- You have the option to delete or update the kill, changing which seats are affected.
Link to Loom
https://loom.com/share/9e4f3fdc88554962b923dc568ab12ae9